
All tutorials
Updating your menu
Add a dish with a photo, sizes and add-ons, then change a price, set how many are left, mark a dish sold out, hide, reorder and delete.
For sellers · 3:45 · with narration
- Menu
- Photos
- Sizes and add-ons
- Sold out
Step by step
Everything said in the video, in order.
The Menu screenat 0:00
- This is the Menu screen. Everything customers can order from you is managed here.
- Each row is one dish, with its photo, price and status. On the right you set how many are left, mark it sold out, edit it, or move it up and down.
Add a dishat 0:14
- Let's add a new dish from scratch. Tap Add an item.
- Start with a photo. Tap Add photo and choose a picture of the dish from your phone or computer.
- Type the name of the dish.
- Then the price of one regular portion.
- Add a short description: what is in it, and what it comes with.
- On the right, the preview shows the card exactly as your customers will see it.
Sizes and add-onsat 0:39
- Now the options. Open Sizes and add-ons.
- Add a portion option. The first one is the size customers get by default, so call it Regular and leave the extra price empty.
- Add a second one: Family tray, with an extra price of $20.00. A customer who picks it pays the base price plus the extra.
- Add-ons are extras a customer can tick. Let's offer garlic naan for $3.00.
How many you can make, and allergensat 1:07
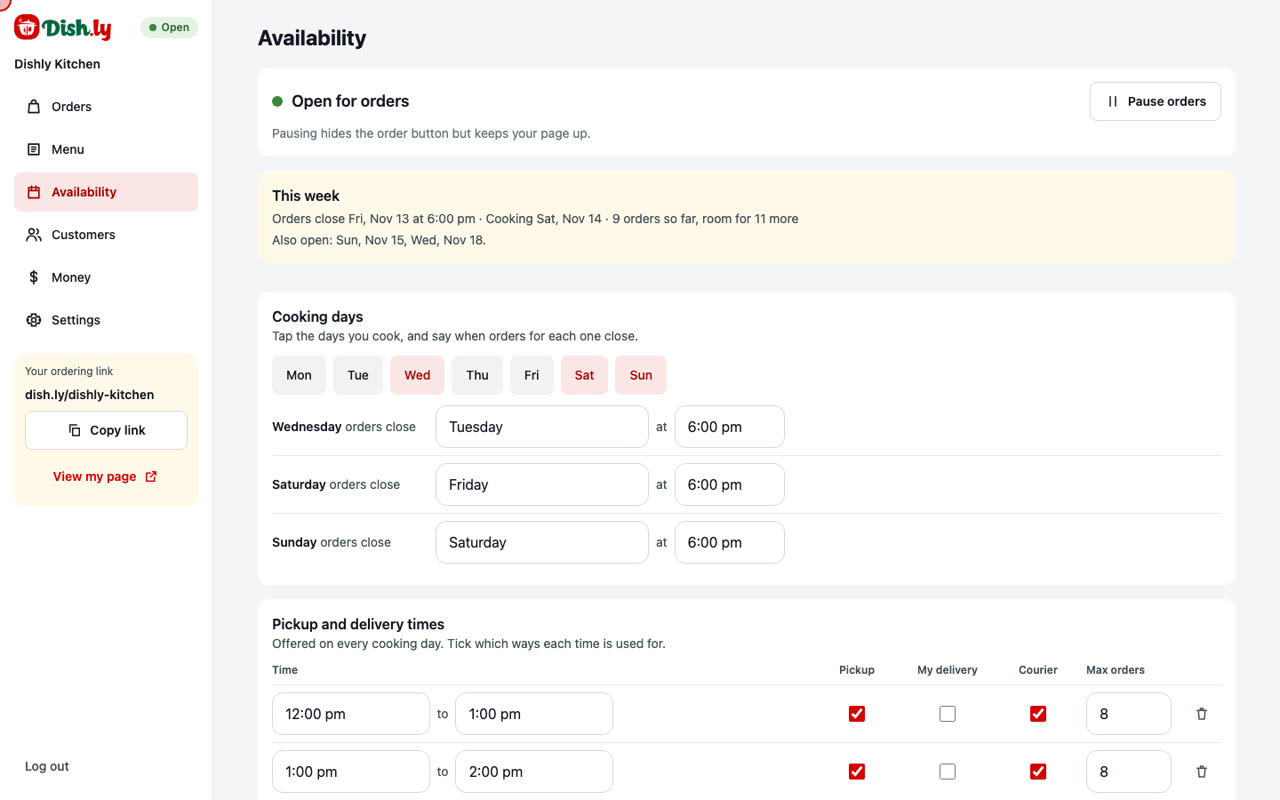
- Next, How many you can make. Set the quantity you can cook each week. When the last one is ordered, the dish shows Sold out by itself, and the count starts again every Monday.
- Maximum per order is the most one customer can take in a single order.
- Under Allergens and dietary, tick what the dish contains, and any diet it suits. Customers see both on the dish page.
Save, and see it as a customerat 1:31
- That is everything. Tap Add to menu to save.
- The new dish is on your menu, and it reaches your order page within a minute. Let's look at it the way a customer does.
- Here it is, with its photo and description. The price says From, because there is a bigger size.
- Open it, and the customer sees the portions, the add-on, the allergens, and the diet it suits.
Change a priceat 1:59
- Back on the Menu screen. To change a price, tap the pencil beside the dish.
- Type the new price and tap Save changes. Orders that are already placed keep the price they paid.
Left this week, and sold outat 2:11
- Left this week is how many of a dish you can still sell this week. Say you only have two burger combos left. Type two and press Enter.
- Sold out early? Tap Mark sold out. The dish stays on your page, but nobody can order it.
Hide a dish, and change the orderat 2:26
- To take a dish off your page without losing it, edit it and open Category and visibility.
- Choose Hidden, and save. A hidden dish stays in your list for another week, but customers cannot see it.
- The arrows change the order of your dishes, and customers see them in the same order. Let's move the chicken curry to the top.
What customers seeat 2:48
- Now the order page again. The chicken curry comes first, and the beef curry is gone.
- The veggie bowl shows its new price.
- The burger combo warns customers that only two are left.
- And the chicken rice plate says Sold out, with no button to add it.
Available again, and deleting a dishat 3:10
- When you can make more, tap Mark available, and customers can order it again.
- Last, deleting a dish. We only added the butter chicken to show you, so open it and tap Delete item.
- Dish.ly asks you to confirm, because a deleted dish is gone for good. Past orders keep their record of it. If you only want a break from a dish, hide it instead.
- And that is your menu: add dishes with a photo and options, set how many you can make, and keep it up to date as you sell. Your order page follows within a minute.
More tutorials
Try it on your own page
Create your order page in a few minutes. No monthly fee.